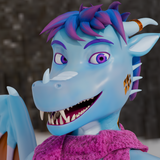


Last weekend I finished a new animation! After not touching blender for a fair while, I felt like starting it up again and doing an idea I’ve had for a while. In this case, the idea was not particularly complex, just a vague concept of me flying around doing various loops and other aerobatic maneuvers.
My starting point was just testing to see if I could make an animation where a generic human dummy asset could be animated to travel along a sort of realistic flight path, losing speed as it climbs, regaining it as it dives. Turns out it wasn’t that hard, so I quickly replaced the animation to control my armature instead, and the starting point of a fun animation was in place.
The scope kept growing. I wanted there to be more than just a Norwegian loop and exit left. I eventually decided that I would fly straight up, stall, fall down and pitch up into the center of the scene and do a maneuver that puts me on a course towards the viewer.
(I forgot to enable rendering on my gym shorts when rendering this video, hence the disconnected body!)
All good. But how to end it? Flying close to the viewer while making a funny face kind of works, but it feels kind of empty. My friend suggested I animate myself coming in for a landing and stopping just short of the camera or slamming into the person filming for a big hug. I tried doing this, but I found it very hard to animate in a clear way. I want to revisit this some day though and see if I can animate myself doing a nice landing flare.
I eventually decided I would do a near flyby but fail to account for my tail dipping down from the g-forces and thus striking the camera itself. I added a new scene for animating the sequence of the camera flying through the air and landing on the ground. The scope kept growing.
I tried overlaying some music for the flying section and made video recordings on my phone as I tossed it onto my bed. The resulting sounds I added as sound effects for the camera being struck and flying through the air. The abrupt end of the music by the harsh slam and wind noises was very funny to me and I felt that I had found a good way to end the animation.
Two things chafed at this point. First, I did not like the implication that I might have hurt the person filming by misjudging the height of my flyby, so the idea of making a short followup video showing that the camera operator managed to duck in a humorous fashion started taking form in my head.
The second issue was the music itself. I would need to find a piece of music that I felt would suit the mood of the video and get permission to use it in my video. Luckily, this was easily sorted by posting on mastodon, asking for help.
As I was making the credit text to be shown after the animation, I was experimenting with the text layout and realized I could put the text off to the side to make room for something else. So why not make the little animation showing the camera operator’s perspective and show it there as a coda to the entire animation? The scope kept growing.
Using my Yinglet character for the camera operator was an easy choice since that’s the only other character I’ve made, and it is such a nice character to use for comic relief like this.
Finally, since I’d already made my own sound effects for the camera being struck and flying through the air, I decided to let the scope grow one final time. I made a little noise-dampening space in my wardrobe, in which I placed my Blue Yeti and recorded the sound effects I needed to complete it all. The wooshing sound as I fly towards the Yinglet is me blowing through a straw onto a disc golf disc. The sound of a phone striking flesh is literally that. The very faint sound of me shouting ‘Ursäkta’ as the screen fades to black is also literally that.
(I like putting little details like that into my animations, details that only a few people might notice. Maybe you now have a reason to rewatch my animations? :3 )
What started out as an experiment in animating a flight trajectory ended up being a very ambitious project. Hopefully I can embark on easier projects in the future too.
The Scene

Schematic view of the scene. The boxes have a volume shader applied to them, turning them into clouds.
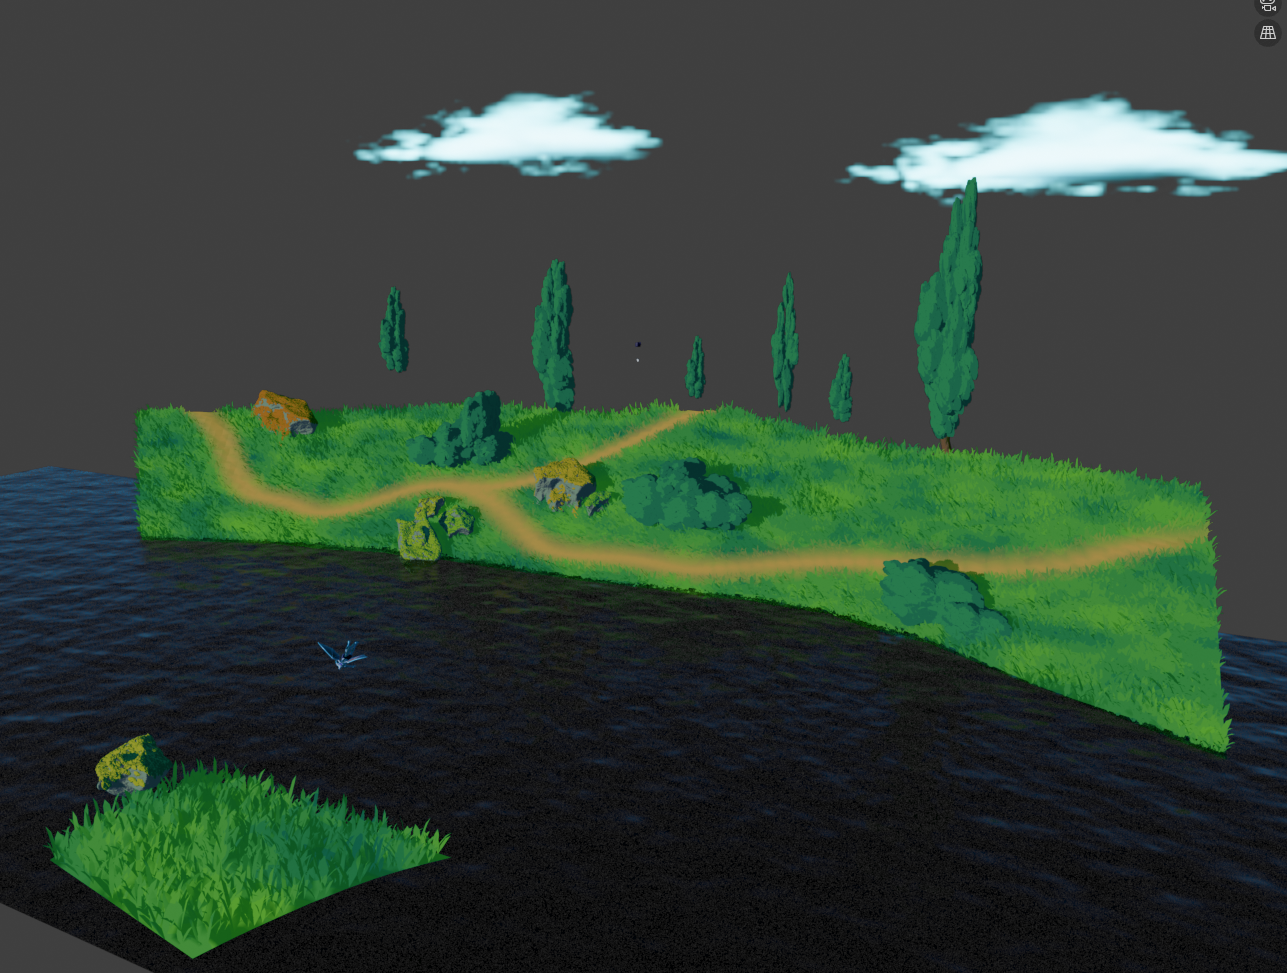
Shaded view. The geometry is just big enough to always cover what is in frame.

I followed this tutorial to create the cartoonish grass field and gravel path. I deviated a bit from it where I felt a better approach was possible. First of all, I don’t like having to create external assets like the quantized noise map the tutorial author makes in photoshop. Blender is fully capable of creating such things too, and on the fly so you can tweak them! I also preferred to use curve objects and proximity nodes to define where the paths would go instead of color painting on the grid’s vertices.
I also followed this tutorial for creating the tree foliage. One Issue I had was that the resulting blobs of foliage would tank my render times. I was able to cut render times to a third by applying the particle system modifiers and then deleting all but the outermost faces of the resulting mesh.

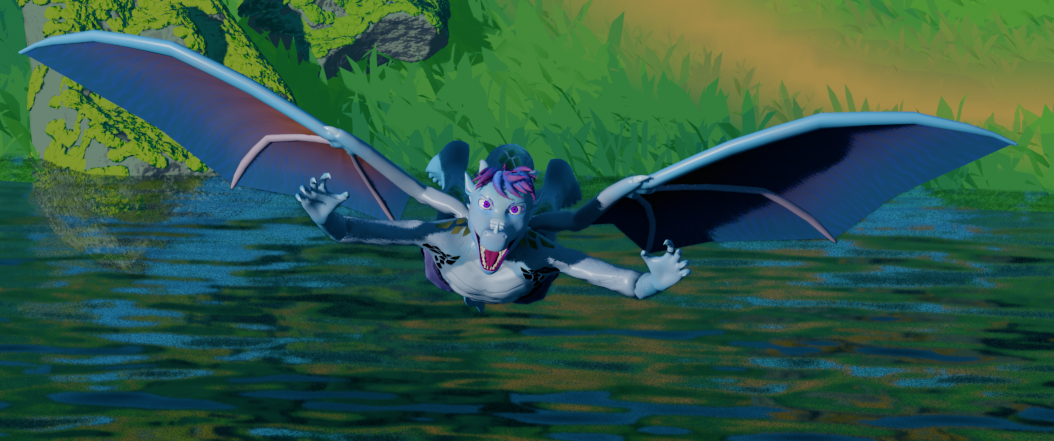
Light probe enabled (left) and disabled (right). With the Eevee renderer, anything obscured by my body will not contribute to the final result. This is an optimization that lets Eevee render things so quickly. The downside is that any geometry culled this way will not contribute to reflections and other light-bounce effects. The geometry will instead leave a hole for the sky to shine through! For this reason, I had to add a light probe on the water surface which samples incoming light and helps recalculate the light that make up the reflections on the water surface. This was my first time using this feature, because I’ve never used Eevee for a project like this before!
Animation

The motion path of the root bone of my armature.

Final dope sheet for my rig and the camera rig I made for this animation.
One of the reasons why I wanted to make an animation like this was to figure out why I’ve always struggled to animate my wings in a convincing fashion. I’ve come to the realization that I’ve rigged my wings with constraints that disallow the full range of motion a real bird’s wings would allow. So an upcoming project for me is to fix this while also changing the proportions of my wings a tiny bit to make them easier to pose when folded up.
Yinglet scene
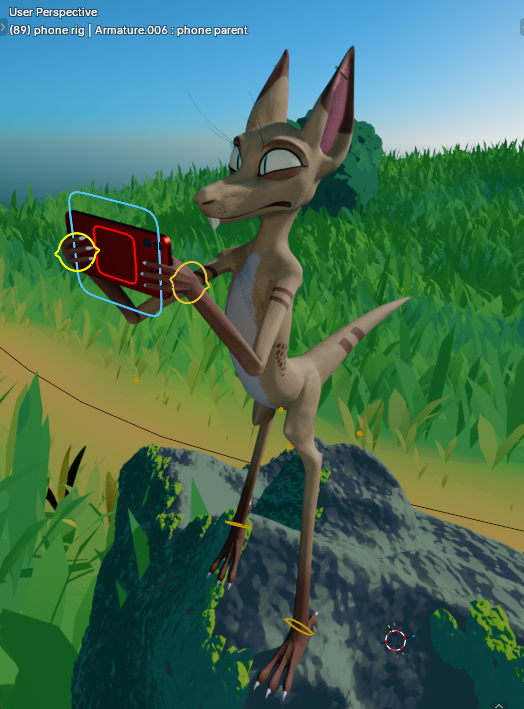


I made a little rig for the phone. The rig has a root bone (the big blue square) that the Yinglet’s arm IK targets are parented to via an Armature constraint. The phone itself is parented to the bone with the red square shape. This allows me to animate the phone flying away while the Yinglet still holds on to the space where the phone used to be.
Video editing

I rendered each scene to a PNG sequence and then laid them out together with the sound effects in Blender’s video editor. It is a nice tool! I used it heavily for the animation I made before going to NordicFuzzCon, and I found that it is quite easy to pick up and just get started. At least if you are already familiar with Blender’s hotkeys and such.
And I think that’s all I feel is worth showing and telling from behind the scenes of my latest animation! Turns out it was a fair bit.
Thanks for reading and I wish you all the best!
Finkel Uxnarås